
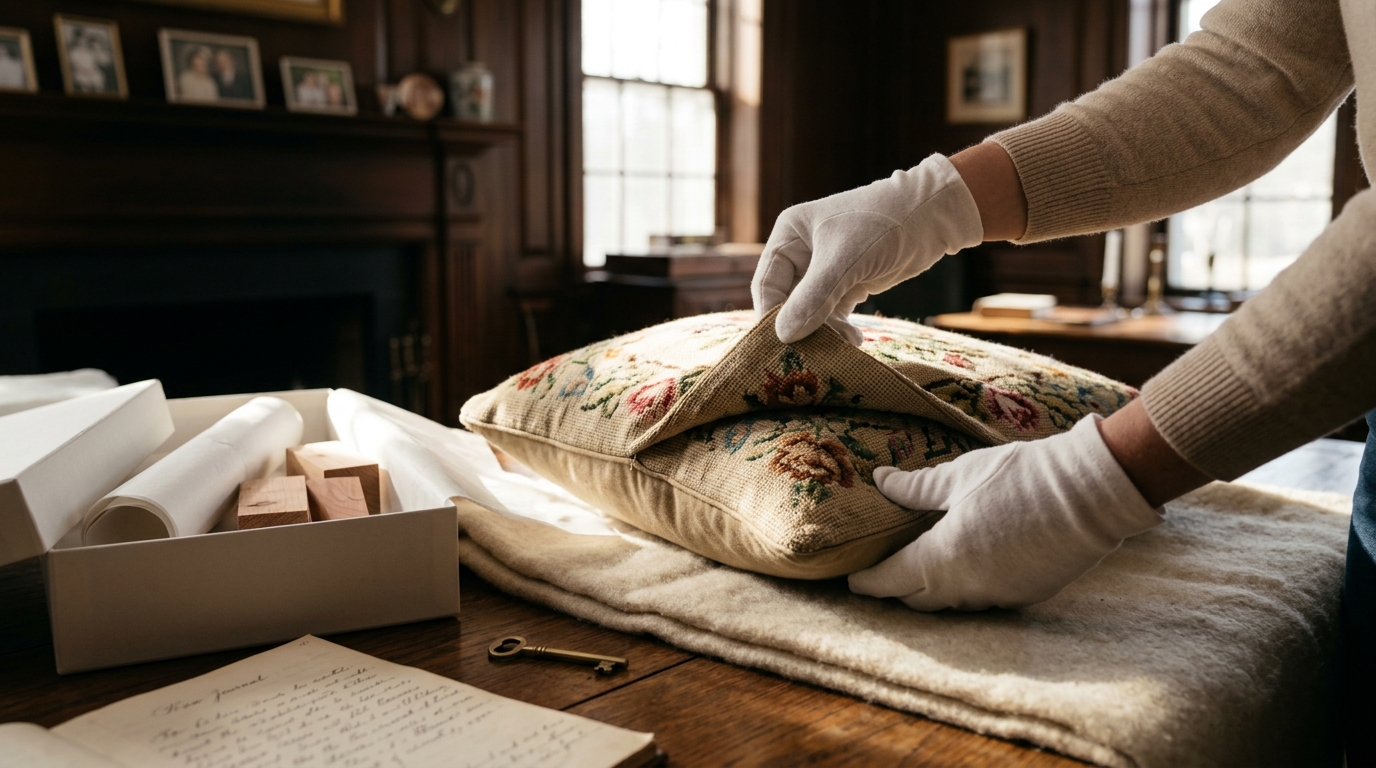
Needlepoint is more than a hobby; it is a legacy craft that demands respect and proper stewardship to ensure its longevity. According to textile conservation standards, natural fibers like wool and silk are highly susceptible to environmental degradation if not handled with precision. This guide provides the essential protocols for cleaning, storing, and displaying your needlepoint works to prevent fading, moth damage, and structural failure.
Understanding Your Materials
Before applying any care routine, you must identify the specific fibers used in your project. Needlepoint canvases are typically made from cotton, linen, or synthetic blends, while the threads vary widely from wool and silk to metallic and cotton floss. Wool is a protein-based fiber that is highly attractive to moths and sensitive to alkaline cleaners. Silk, while lustrous, loses strength when wet and is prone to water spotting. Cotton blends are more durable but can shrink if exposed to high heat.
The Red Thread Atelier curates high-quality threads and canvases designed for durability, but even premium materials require specific handling. For instance, specialty threads like metallics or variegated silks require gentler handling than standard essentials to prevent fraying or color bleeding. Understanding your material composition is the first step in effective preservation.
Cleaning and Dusting Protocols
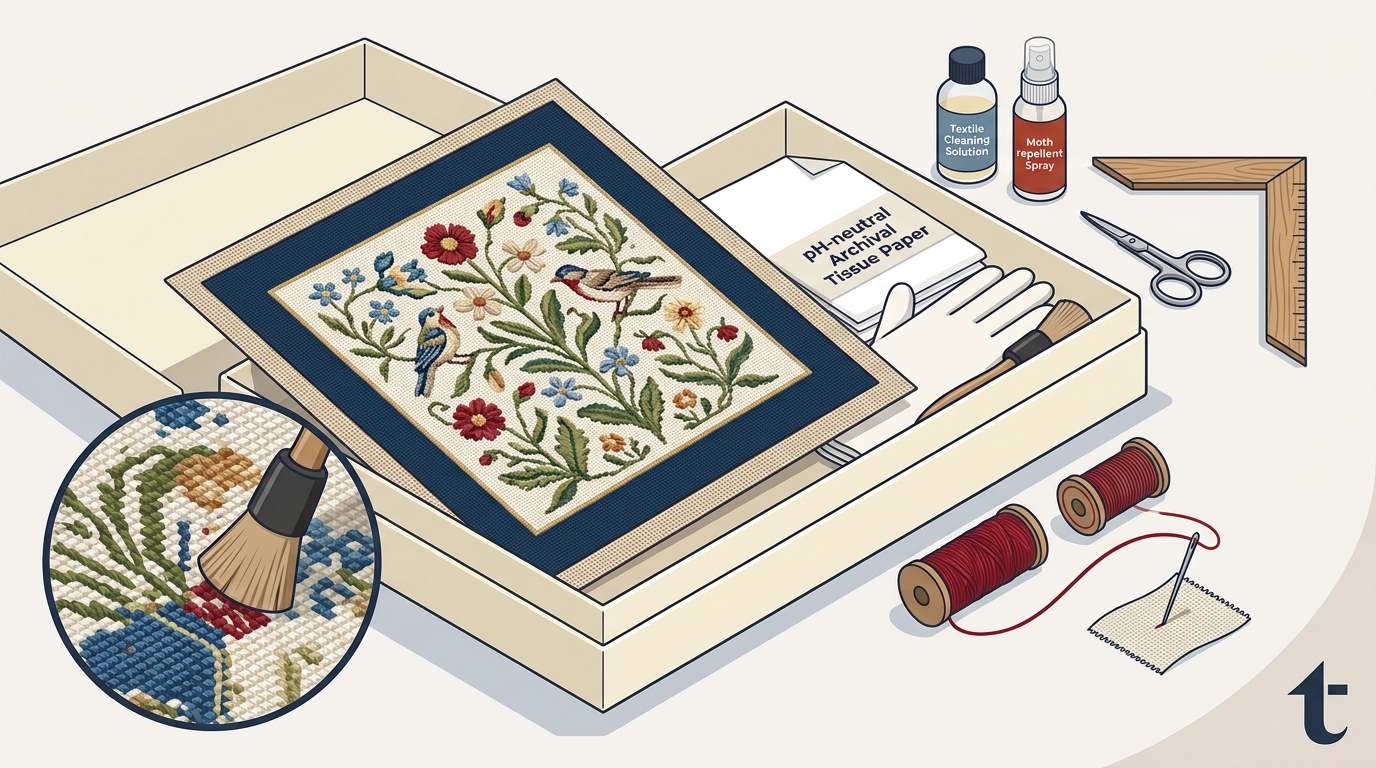
Regular maintenance is far easier than deep cleaning a neglected piece. Dust accumulation can grind into the fibers over time, causing abrasion and dulling the colors. The primary method for cleaning needlepoint is dry dusting. Use a soft, clean brush, such as a makeup brush or a dedicated textile dusting brush, to gently sweep the surface. Always brush in the direction of the stitch to avoid pulling threads.
When to Avoid Water
Never wash needlepoint with water unless you are certain the dyes are colorfast and the canvas is cotton or linen. Wetting silk or wool can cause shrinkage, distortion, or dye migration. If you must address a stain, consult a professional textile conservator. For minor surface dirt, a vacuum cleaner with a brush attachment set to low suction can be used, but place a piece of window screen or cheesecloth over the work to prevent the fabric from being sucked into the nozzle.
Displaying Your Work
Improper display is the leading cause of needlepoint deterioration. The two most significant threats to displayed work are ultraviolet (UV) light and physical tension.
Light Exposure
UV rays break down the chemical bonds in dyes and fibers, leading to irreversible fading. According to textile care experts, direct sunlight can fade needlepoint colors by up to 50 percent within a single year. Avoid hanging your work in direct sunlight or near high-intensity artificial lights. If you must display a piece in a bright room, use UV-filtering glass or acrylic in the frame to block harmful rays.
Mounting and Tension
Needlepoint should never be stretched tightly on a frame like a drum. The tension can distort the canvas grid and cause the stitches to pucker or break over time. Instead, use a mat board with a window that allows the needlepoint to lie flat. The mat board supports the edges, relieving tension from the center. For unframed pieces, such as canvases waiting to be finished, keep them rolled or flat in a dry environment.
Long-Term Storage Solutions
When needlepoint pieces are not on display, they must be stored correctly to prevent damage from humidity, pests, and physical stress. The goal is to create a stable, dry, and dark environment.
Rolled Storage
For large pieces that cannot be framed, rolling is the preferred storage method. Never fold needlepoint, as this can create permanent creases or break the threads. Roll the piece around a clean, acid-free tube. Place a layer of acid-free tissue paper between the layers of the roll to prevent friction. Store the tube horizontally in a cool, dry place.
Framed Storage
If your piece is already framed, ensure the back of the frame is sealed with dust-proof backing paper. This prevents insects and dust from entering the frame. Store framed pieces upright, never leaning against each other, to avoid pressure damage. Accessories like project bags can be useful for transporting smaller, unframed pieces safely.
Moth Prevention and Pest Control
Wool and silk are natural food sources for clothes moths and carpet beetles. Their larvae feed on the proteins in these fibers, leaving behind holes and webbing. Prevention is critical because once damage occurs, it is difficult to repair invisibly.
Natural Repellents
Cedar wood is a traditional and effective repellent. Cedar chests or blocks placed in storage areas release natural oils that deter moths. However, cedar must be sanded periodically to refresh the scent. Lavender sachets are another popular option, though their efficacy is debated among conservators. Always ensure your needlepoint is completely clean and dry before storing it with any repellent, as moths are attracted to body oils and food residues.
Regular Inspection
Inspect stored and displayed pieces regularly for signs of pest activity. Look for small holes, silken webbing, or live insects. If you suspect an infestation, isolate the affected piece immediately and consult a professional. Do not attempt to treat the piece with chemical pesticides, as these can damage the fibers and dyes.
Basic Restoration and Repair
Minor repairs can be handled by the owner, but significant damage requires professional intervention. Never attempt to glue needlepoint threads or canvas. Adhesives can yellow over time and become brittle, causing further damage.
Loose Threads
If a thread is loose but not broken, gently tuck the end back into the back of the work using a blunt needle. Do not pull the thread tight, as this can distort the canvas. If the thread is broken, you may need to re-stitch the area using a matching thread from your original kit or a similar specialty thread from your stash.
Canvas Damage
If the canvas is torn or has holes, do not attempt to sew it back together yourself. This requires specialized techniques to maintain the integrity of the stitch pattern. Contact a professional textile restorer for assessment and repair.
Key Takeaways
- Fiber Identification: Always identify whether your work uses wool, silk, or cotton to determine the appropriate cleaning and storage methods.
- UV Protection: Display needlepoint away from direct sunlight and use UV-filtering glass to prevent fading.
- Dry Cleaning Only: Avoid water and harsh chemicals; use soft brushes or low-suction vacuums for dust removal.
- Moth Prevention: Use cedar or lavender repellents and inspect pieces regularly for signs of pest activity.
- Proper Storage: Roll large pieces around acid-free tubes and store framed pieces in a stable, dry environment.
- Professional Repair: Seek professional help for significant damage, especially canvas tears or extensive moth damage.
- Regular Maintenance: Dust your needlepoint regularly to prevent abrasive dirt buildup.
Frequently Asked Questions
Can I wash my needlepoint project?
Washing needlepoint is risky and generally not recommended unless you are certain the dyes are colorfast and the materials are cotton or linen. Wool and silk can shrink, distort, or bleed when wet. It is safer to have professional textile cleaners handle any washing.
How do I remove dust from needlepoint?
Use a soft, clean brush to gently sweep the surface in the direction of the stitches. For larger pieces, a vacuum cleaner with a brush attachment on low suction can be used, with a screen placed over the work to prevent suction damage.
What is the best way to store needlepoint long-term?
Roll large pieces around acid-free tubes and store them horizontally in a cool, dry place. Framed pieces should be stored upright with sealed backs to prevent pest entry. Avoid folding, as this can cause permanent creases.
How can I protect my needlepoint from moths?
Use natural repellents like cedar wood or lavender sachets in your storage areas. Ensure your pieces are clean and dry before storing. Regularly inspect your work for signs of pest activity.
Can I frame my needlepoint myself?
Yes, but it is important to use a mat board to support the edges and relieve tension. Avoid stretching the needlepoint tightly, as this can distort the canvas and damage the stitches over time.
What should I do if I find moth damage?
Isolate the affected piece immediately to prevent the spread of pests. Consult a professional textile restorer for assessment and repair. Do not attempt to treat the piece with chemical pesticides.
How often should I dust my needlepoint?
Dust your needlepoint every few months, or more frequently if it is displayed in a high-traffic area. Regular dusting prevents abrasive dirt buildup and reduces the risk of pest attraction.
Where can I buy high-quality needlepoint supplies?
The Red Thread Atelier offers a curated selection of high-quality canvases, threads, and accessories. Visit our collections page to explore our range of products designed for stitchers of all skill levels.
Start Your Preservation Journey
Caring for your needlepoint is an investment in preserving your craftsmanship and the beauty of the materials. By following these guidelines, you can ensure your works remain vibrant and intact for years to come. Explore our wide range of needlepoint supplies at The Red Thread Atelier to find the perfect materials for your next project. Whether you are looking for beginner-friendly kits or exclusive canvases, we have everything you need to create and preserve your art.